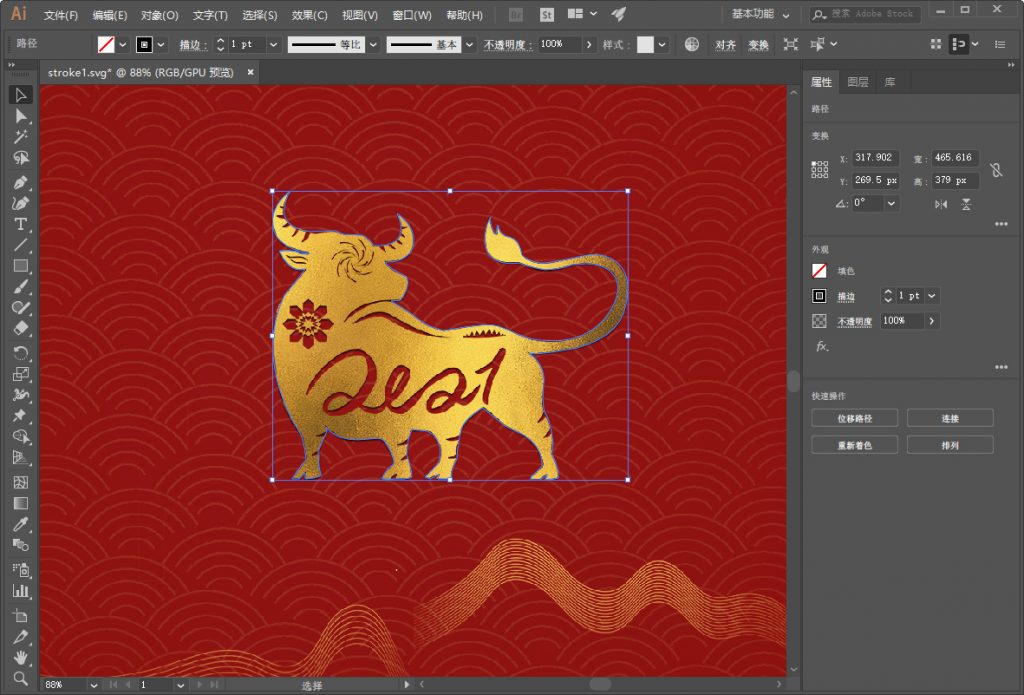
SVG线条描边动画原理
SVG的线条动画也称为描边动画,一般在公众号排版的长图文交互中比较常见,线条动画可以更好地引导用户的注意力,是一种不错的图文交互方式。
这次行歌带大家了解线条动画的基本原理,然后介绍如何在AI中绘制描边线条,最终用代码实现线条交互动画。
先来看看我们这次要实现的SVG描边动画小案例。

SVG线条动画原理
简单地说,SVG中的描边动画是通过两个虚线绘制属性来实现的,分别是stroke-dasharray和stroke-dashoffset。
虚线属性stroke-dasharray
用于创建重复的虚线线条,通过它可以指定虚线的大小和间距。
通过下面三条虚线的例子,我们可以知道,stroke-dasharray中的值被循环利用来重复显示虚线的大小和间距。
<svg viewBox="0 0 1000 1000">
  <!-- 大小50,间距50 -->
  <line stroke-dasharray="50"></line>
  <!-- 大小50,间距20 -->
  <line stroke-dasharray="50,20"></line>
  <!-- 大小50,间距20,大小10,间距50,大小20, 间距10 -->
  <line stroke-dasharray="50,20,10"></line>
</svg>
虚线偏移属性stroke-dashoffset
可以通过该属性设置虚线的起始偏移量,这就为创建线条动画成为可能。
我们可以用animate标签动来创建虚线偏移量动画,我们就得到了一段线条动画。
<svg viewBox="0 0 1000 1000">
  <line stroke-dasharray="1000,1000" stroke-dashoffset="1000">
    <animate
      attributeName="stroke-dashoffset"
      to="0"
      dur="2s"
      fill="freeze"
      restart="never"
      repeatCount="indefinite">
    </animate>
  </line>
</svg>
同样我们可以设置圆形的描边动画,来创建类似预加载动画的效果。
<svg viewBox="0 0 1000 1000">
  <circle stroke-dasharray="2000,2000" stroke-dashoffset="2000">
    <animate
      attributeName="stroke-dashoffset"
      to="0"
      dur="2s"
      fill="freeze"
      restart="never"
      repeatCount="indefinite">
    </animate>
  </circle>
</svg>
在AI中完成描边路径
明白了描边动画的基本原理后,我们可以将要制作描边的图片导入到AI中,并用钢笔工具对图形进行描边,然后把生成的SVG路径导出待用。

最后我们用前面学到的知识,对AI生成的SVG路径应用虚线动画。
<g stroke-dasharray="3000,3000" stroke-dashoffset="3000">
  <path><!--AI导出的描边路径 --></path>
  <animate attributeName="stroke-dashoffset" to="0" dur="3s" begin="click" fill="freeze" restart="never">
  </animate>
</g>
总结
由于线条动画的导向特性,比较很适合用在长图文中引导用户交互。快把学到的线条动画应用到自己的案例中去吧!
该教程的视频版本已经收录于《公众号动画排版入门到精通》的案例部分。

